Quick-ish & Easy DIY Halloween Costumes

You thought you had the kids’ Halloween costumes taken care of this year, but life just got ahead of you. Don't fret! We’re here to help! We’ve outlined 15 quick-ish and easy DIY Halloween costumes that you can cheaply and somewhat easily create at home.
Now, if you’ve ever searched online for ideas around simple and affordable DIY Halloween costumes, you’re likely to come across directions that include such words as “sewing machine," “fabric scissors,” and “cotton batting.” You won’t find those words here. When it’s trick or treating time, your kids will be ready to go!
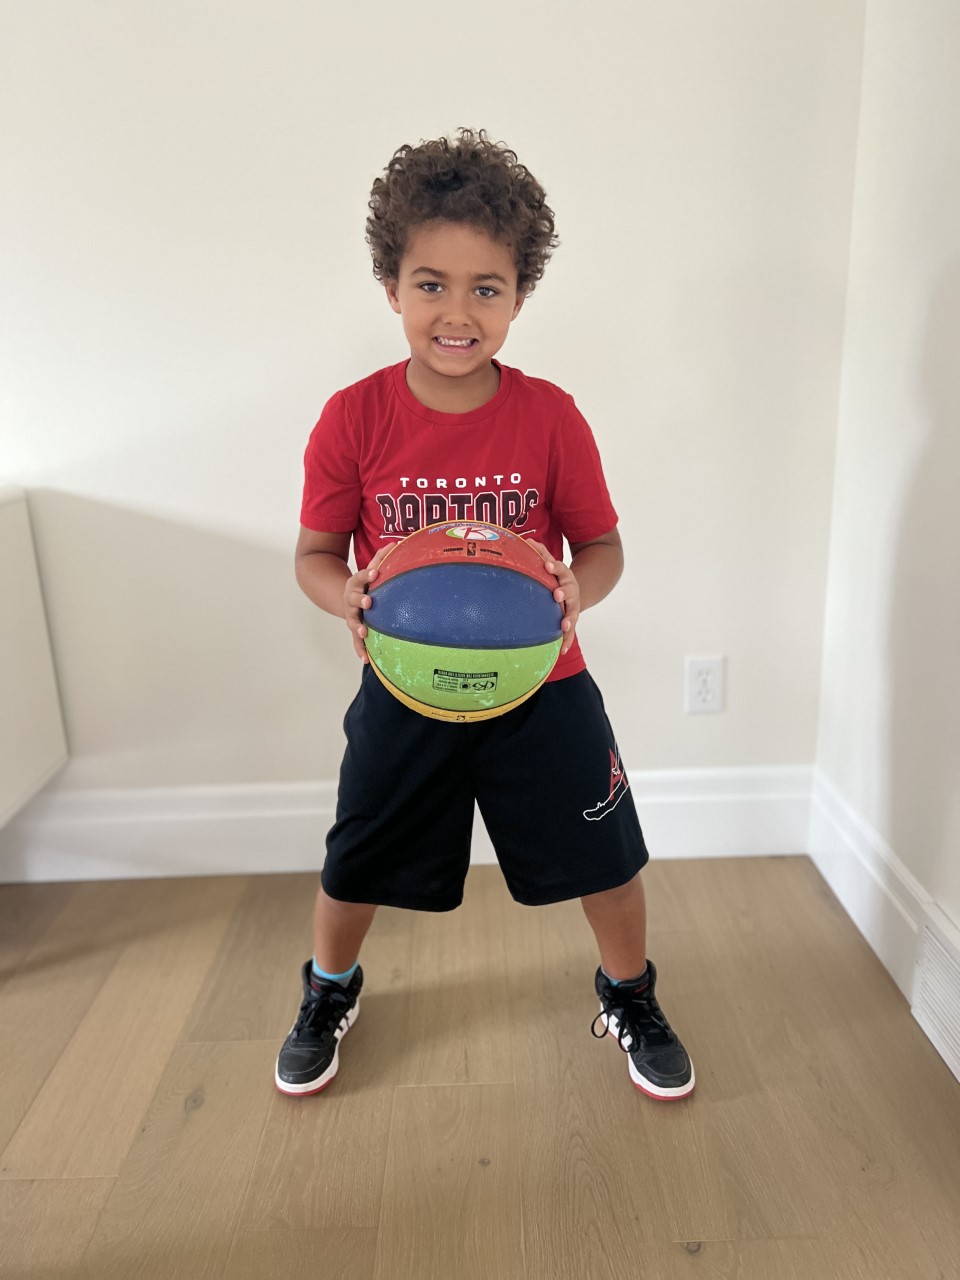
Athlete
You might not have the necessary materials at home to create a superhero or comic book character costume, but you can likely pull together some kind of athlete costume. Have a jersey for a professional sports team? Guess what? Your little one can pretend to be a super-star athlete. Have a top from a little league or even just a particularly sporty T-shirt? Great, your kid is now an amateur athlete. Just pair either shirt with some running shoes and either gym pants or shorts, depending on where your child will be wearing their costume. You can also include a hoodie to keep your little one warm.
Fun Extra: Swap your kid’s trick-or-treating bag, or backpack if this is a school costume, with a gym bag, which can act as a practical prop.
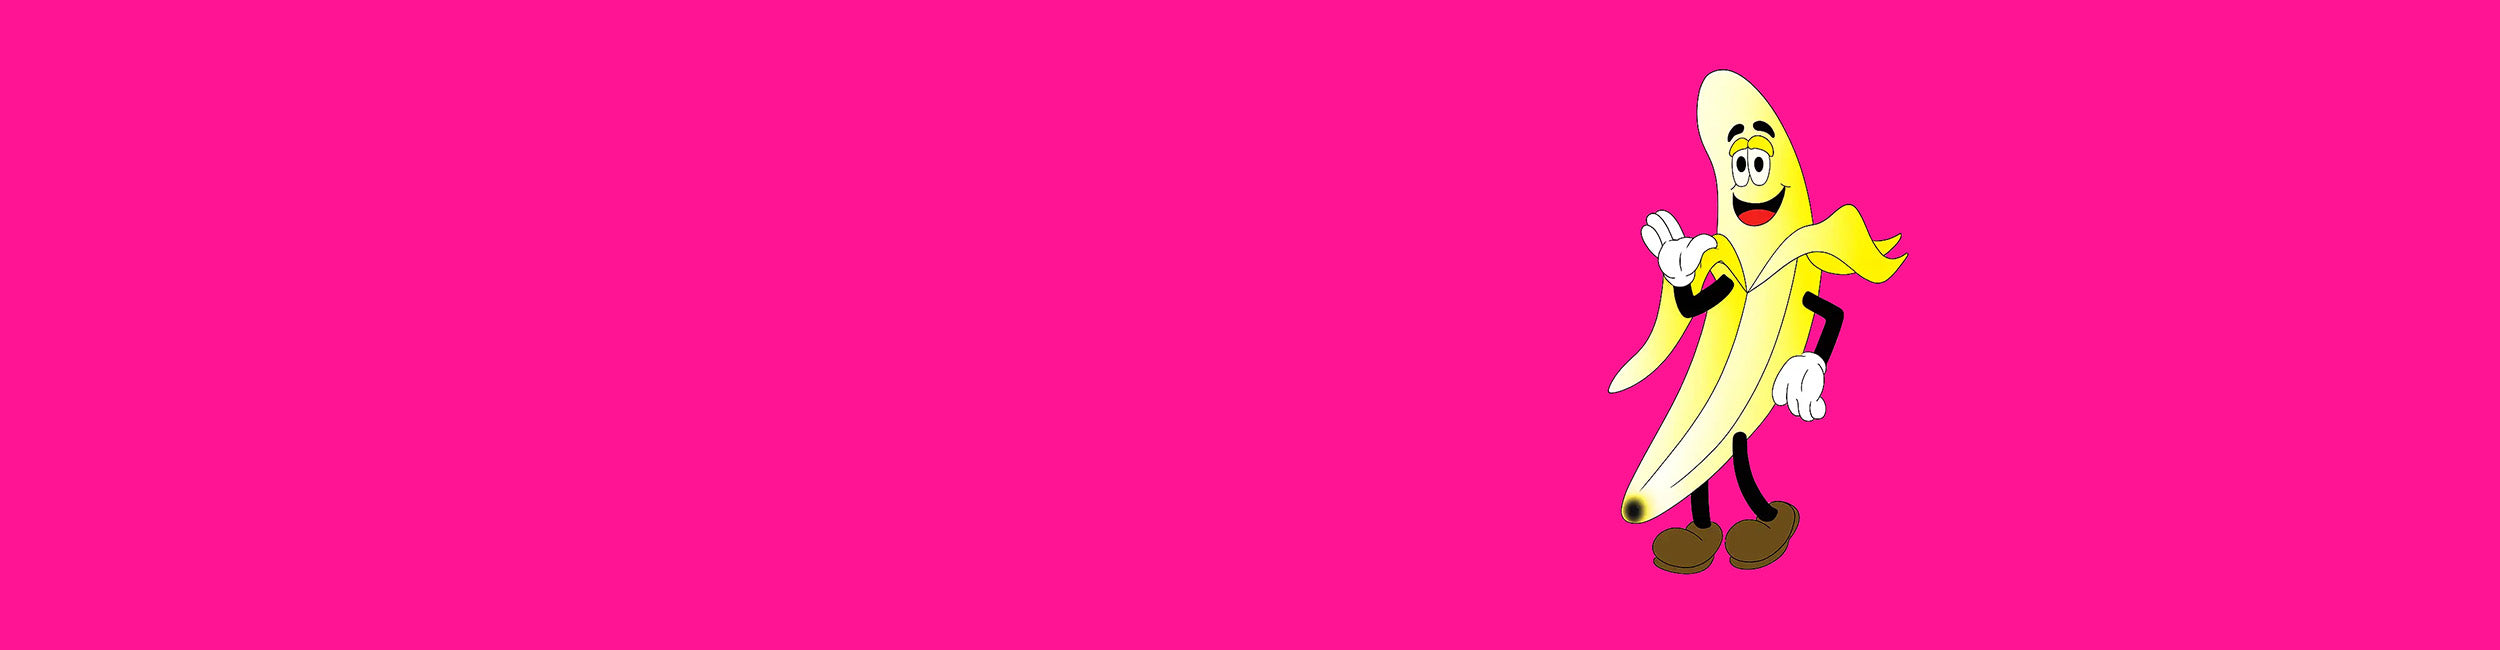
Giant Emoji
This one is legitimately easy and cheap. Just take a sheet of yellow Bristol board, draw a circle (here’s a trick on how to do that: https://www.wikihow.com/Draw-a-Perfect-Circle-Using-a-Pin) on it, and then cut it out. If you don’t have bristol board, you can always paint a large piece of cardboard yellow or cover it with yellow construction paper. You can then paint your emoji’s face directly onto the paper or cut the pieces out of construction paper—whatever works best for you. Make the emoji wearable by attaching a loop of ribbon or other fabric to the back of the face.
Fun Extra: Need to do a family or group costume on a budget? Then consider creating a collection of giant emojis, with each person having their own expression.
Gumball Machine
Our execution of this idea isn’t the greatest, but if you’re a more skilled artist than I am (and that bar is pretty low), this can be an adorable costume that looks more complicated than it actually is. To build it, trace the shape of a gumball machine. On a piece of bristol paper or a piece of cardboard that you’ve painted red or covered in red construction paper. Next, create the metal part out of aluminium foil, twisting some of the foil together to create the crank. To build the tank part of the machine, take a clear, round Tupperware container and fill it with plastic balls. Alternatively, you could use pompom balls or even ball-up coloured paper. Tightly seal the lid of the container to the base (I used clear packing tape so that I could reuse the container) and then glue the lid to the rest of the machine (you likely want to use hot glue). Finish this costume off by attaching, using glue or tape, a couple pieces of ribbon or fabric that can be used to tie the bubblegum machine to your child’s neck.
Fun Twist: If you don’t have something that could act as the machine’s tank but do have a solid-coloured shirt that you’re okay sacrificing to this costume, you can glue your gumballs directly to the shirt, creating that classic round gumball machine as you glue. Then create the bottom part as we did, or ditch it and opt for red pants or a red skirt.
Haunted House
Okay, this one is a little bulky, but it’s also super cute, and you can put your kids to work creating it. Take a cardboard box that’s large enough to fit your child, cut one set of flaps off, and then cut and tape or glue the other set together to create the roof. We covered our roof with black paper, but you could also paint it. Then have your kid decorate all four sides and turn the box into a spooky house. Use markers, paint, stickers, cutouts, or whatever you want. Once you’re happy with how it looks, create straps using fabric, ribbon, or even sticking two pieces of duct tape together, and tape them to the inside of the box so that your child can wear them (we recommend figuring out placement by having the child wear the box while you line everything up).
Fun Extra: Do you have access to glow sticks (you can grab them at the dollar store) and want to take your haunted house up another notch? Then cut out the windows and cover them (from the inside of the box) with wax paper (maybe draw a cute little ghost peeking out of one corner). Next, tape a cracked glowstick behind each window and watch your haunted house light up.
Emergency Outfits - Spooky
This is quick, like 911, quick!
Need a last-minute costume? Dial 911 for the perfect spooky attire in a flash. With five costumes to choose from, Emergency Outfits has got you covered, and you'll be sure to be pleased.

Ladybug
Key materials for this outfit include a red top, black bottoms, and some kind of black hat. To turn them into ladybugs, cut some black spots out of black paper (or even better, black felt) and attach them to the red top using painter’s tape to prevent any damage. Next, create a pair of antennas using pipe cleaners or black carboard, and then pin them to the black hat.
Fun Extra: Take this costume to the next level by pairing it with fairy wings (we’ve spotted some at the dollar store) or making a pair out of black felt or paper. Another cute touch is to pop a pair of black or red-framed glasses on your child.
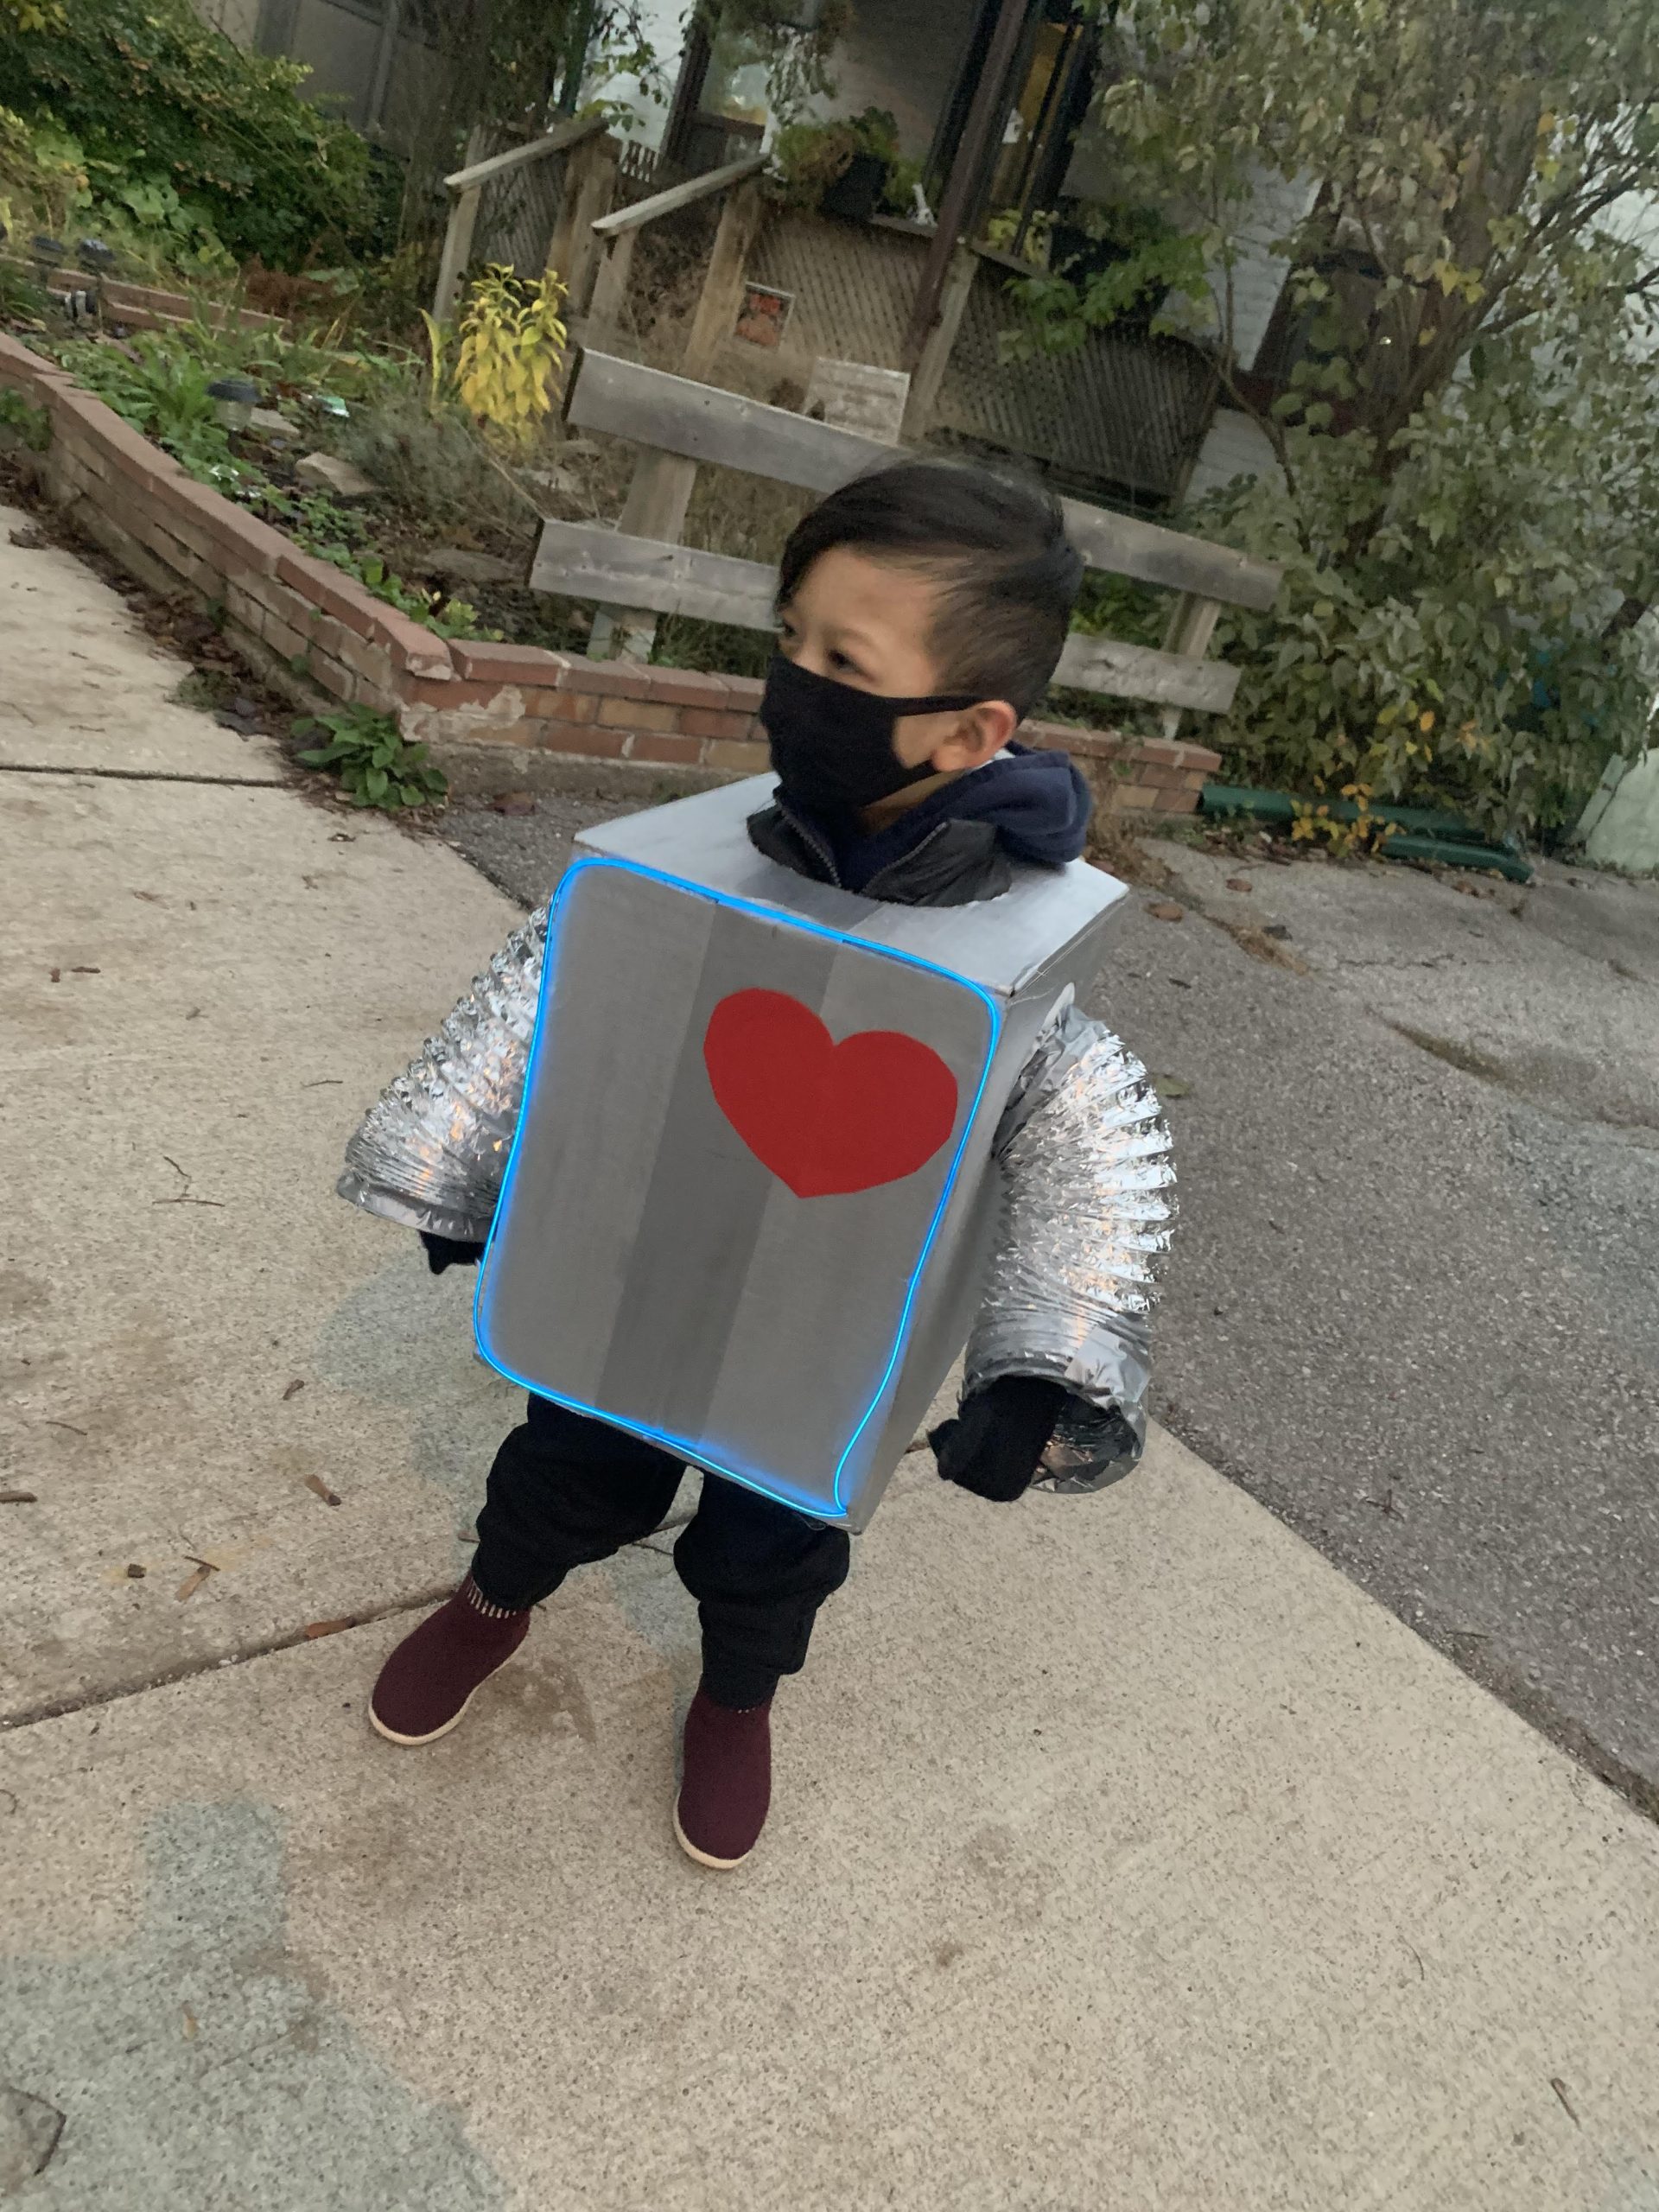
Love Robot
Here’s a great option for a costume that easily slips over bulky winter coats: Start with a box that comfortably fits over your child and whatever they will be wearing. Spray painting the box, ideally silver, is the quickest way to paint it, but if you don’t have spray paint, you can use regular paint or even cover the box with construction paper. Next, grab a section of dryer duct and cut it into two pieces that are each long enough to cover most of your child’s arms (okay, this costume might involve a trip to the hardware store). Trace one end of the duct onto the sides of the box to create the arm holes, and then cut those out. Attach the two pieces of duct over the arm holes using duct tape (and remember, you’re building a robot; it’s okay for things to look industrial), and be sure to also cover the other, open ends of the duct with tape for safety reasons. Now, turn your robot into a love robot by cutting a heart out of construction paper and glueing it to the box.
Fun Extra: If you can get your hands on a strip of battery-powered lights (dollar stores often stock them, sometimes as part of a make-your-own-sign kit), you can literally make this costume electric. Create a small hole in the bottom front corner and thread the lights through it and into the desired shape. Then secure the lights with hot glue, making sure to also secure the battery pack onto the inside of the costume. If you can’t find a battery-powered light strip, you could also crack some long, skinny glow sticks (find them in the dollar store’s party section) and glue those down instead.
Rain Cloud
If your trick-or-treating experience is looking cold and/or rainy, lean into the weather with this water-resistant outfit. To create the cloud, start with an umbrella, ideally kids’ size. To prevent damaging our umbrella and to make this costume more rainy-friendly, we covered our umbrella with a white plastic tablecloth, which we cut and then taped to the underside of the umbrella. As we taped, we tucked balled-up white tissue paper (but you could use regular white paper) between the umbrella and the tablecloth to create a cloud-like effect. Alternatively, you could glue directly to the umbrella any fluffy white or grey materials, such as cotton balls (though that won’t be rain-friendly). Next, we taped strips of blue ribbon to the inside of the umbrella and glued blue paper rain drops to the ends of the ribbons to create our “rain.” We then paired our umbrella with our kids' usual rain gear.
Fun Twist: Oh no, is it snowing where you are? Then swap the rain gear for snow gear and the raindrops for paper snowflakes.
Stereotypical Mom
Here’s a costume that’s warm, comfortable, and sure to get a laugh. Have your child wear a pair of sweatpants, a bathrobe, and their choice of comfy footwear. Then wrap up a baby doll and position it in your child’s arms. Be sure to complete the look by pulling any long hair back into a messy bun.
Fun Extra: The classic accessory for a stereotypical mom is coffee, so for photos, fill your child’s free hand with a coffee mug or, even better, a cup from Starbucks. A fun touch for school-age kids is to decorate their water bottle like a coffee cup.
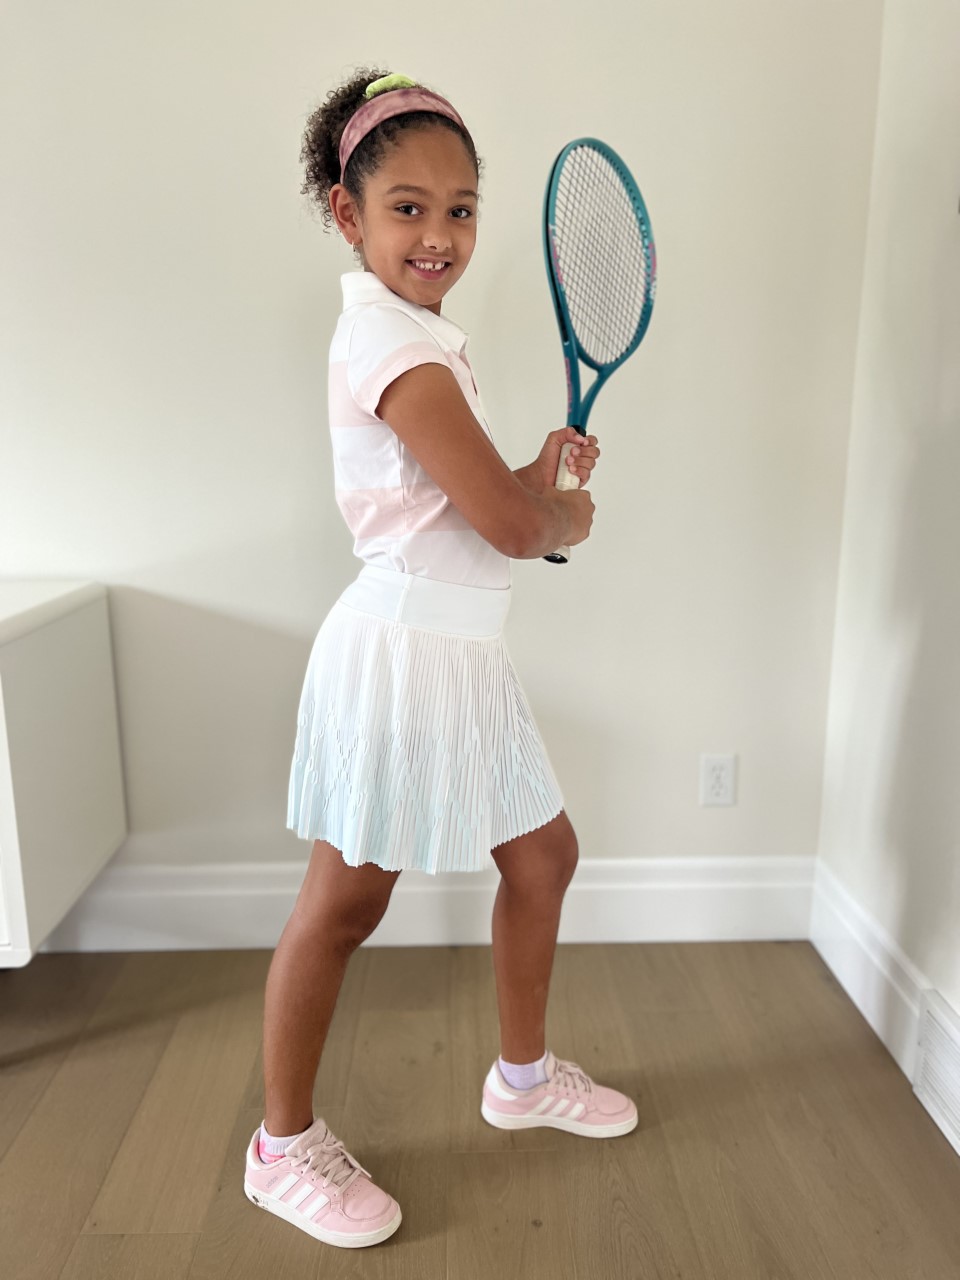
Tennis Player
This year saw the retirement of two of the biggest names in tennis: Serena Williams and Roger Federer. Pay tribute to them with this simple costume that will appeal to kids who prefer casual, comfy clothes. Pair a sporty t-shirt, ideally from a big athletic brand, with gym shorts or a tennis skirt (or grab a tennis dress if you have one) and running shoes. To make these outfits more friendly for the weather, include a hoodie and consider sliding those shorts or skirts over tights or leggings. And don’t forget the sweatband (you can always make one out of scrap fabric or construction paper) and, of course, a tennis racket.
Fun Extra: This is another costume where you can swap the usual trick-or-treat bag for a gym bag, which can also house a tennis racket.
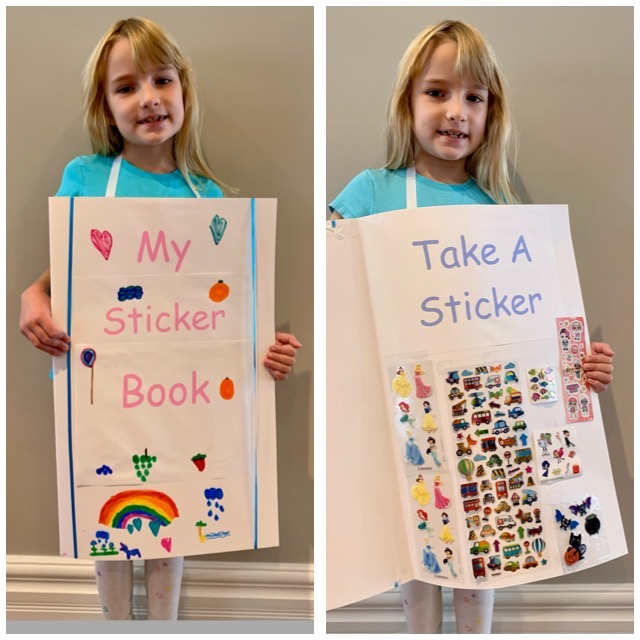
Sticker Book
Want to give something other than candy to your kid’s classmates? How about stickers, distributed via your kid’s costume? We created this by simply folding a piece of Bristol board in half and then creating a cover using children’s drawings and a little help from our printer. Inside, we taped strips of stickers alongside some instructional text. To attach it to my child, we taped a ribbon loop to the back so that the whole thing could be easily slipped over her head.
Fun Twist: There are countless spins you could put on this costume. Does your child love a particular book or comic series? Then transform a folded piece of bristol board into their favourite book. This idea is a great idea for kids who want to express their creative side in a costume or for families that have access to a colour printer.
Witch
Few Halloween costumes are as classic as "Witch," and few are as simple to put together. All you need are black pants or tights, a black top or dress (we actually turned a black and white dress inside out to get our “black” dress), and some kind of black or dark-coloured fabric that can act as a cape. We repurposed a dark grey pillowcase and “tied” it together using a black hair elastic. We also grabbed a hat from the dollar store, but as long as you have black construction paper or cardboard and black paint, you can create your own witch hat. See the tutorial here.
Fun Extra: Does your kid have a stuffed toy cat? Great! Now your little witch has a familiar that she can pose for photos with (if you have safety pins, you could potentially pin the kitty to your kid’s shoulder). Another fun prop is a toy broom, though we wouldn’t recommend sending your kid to school with it.
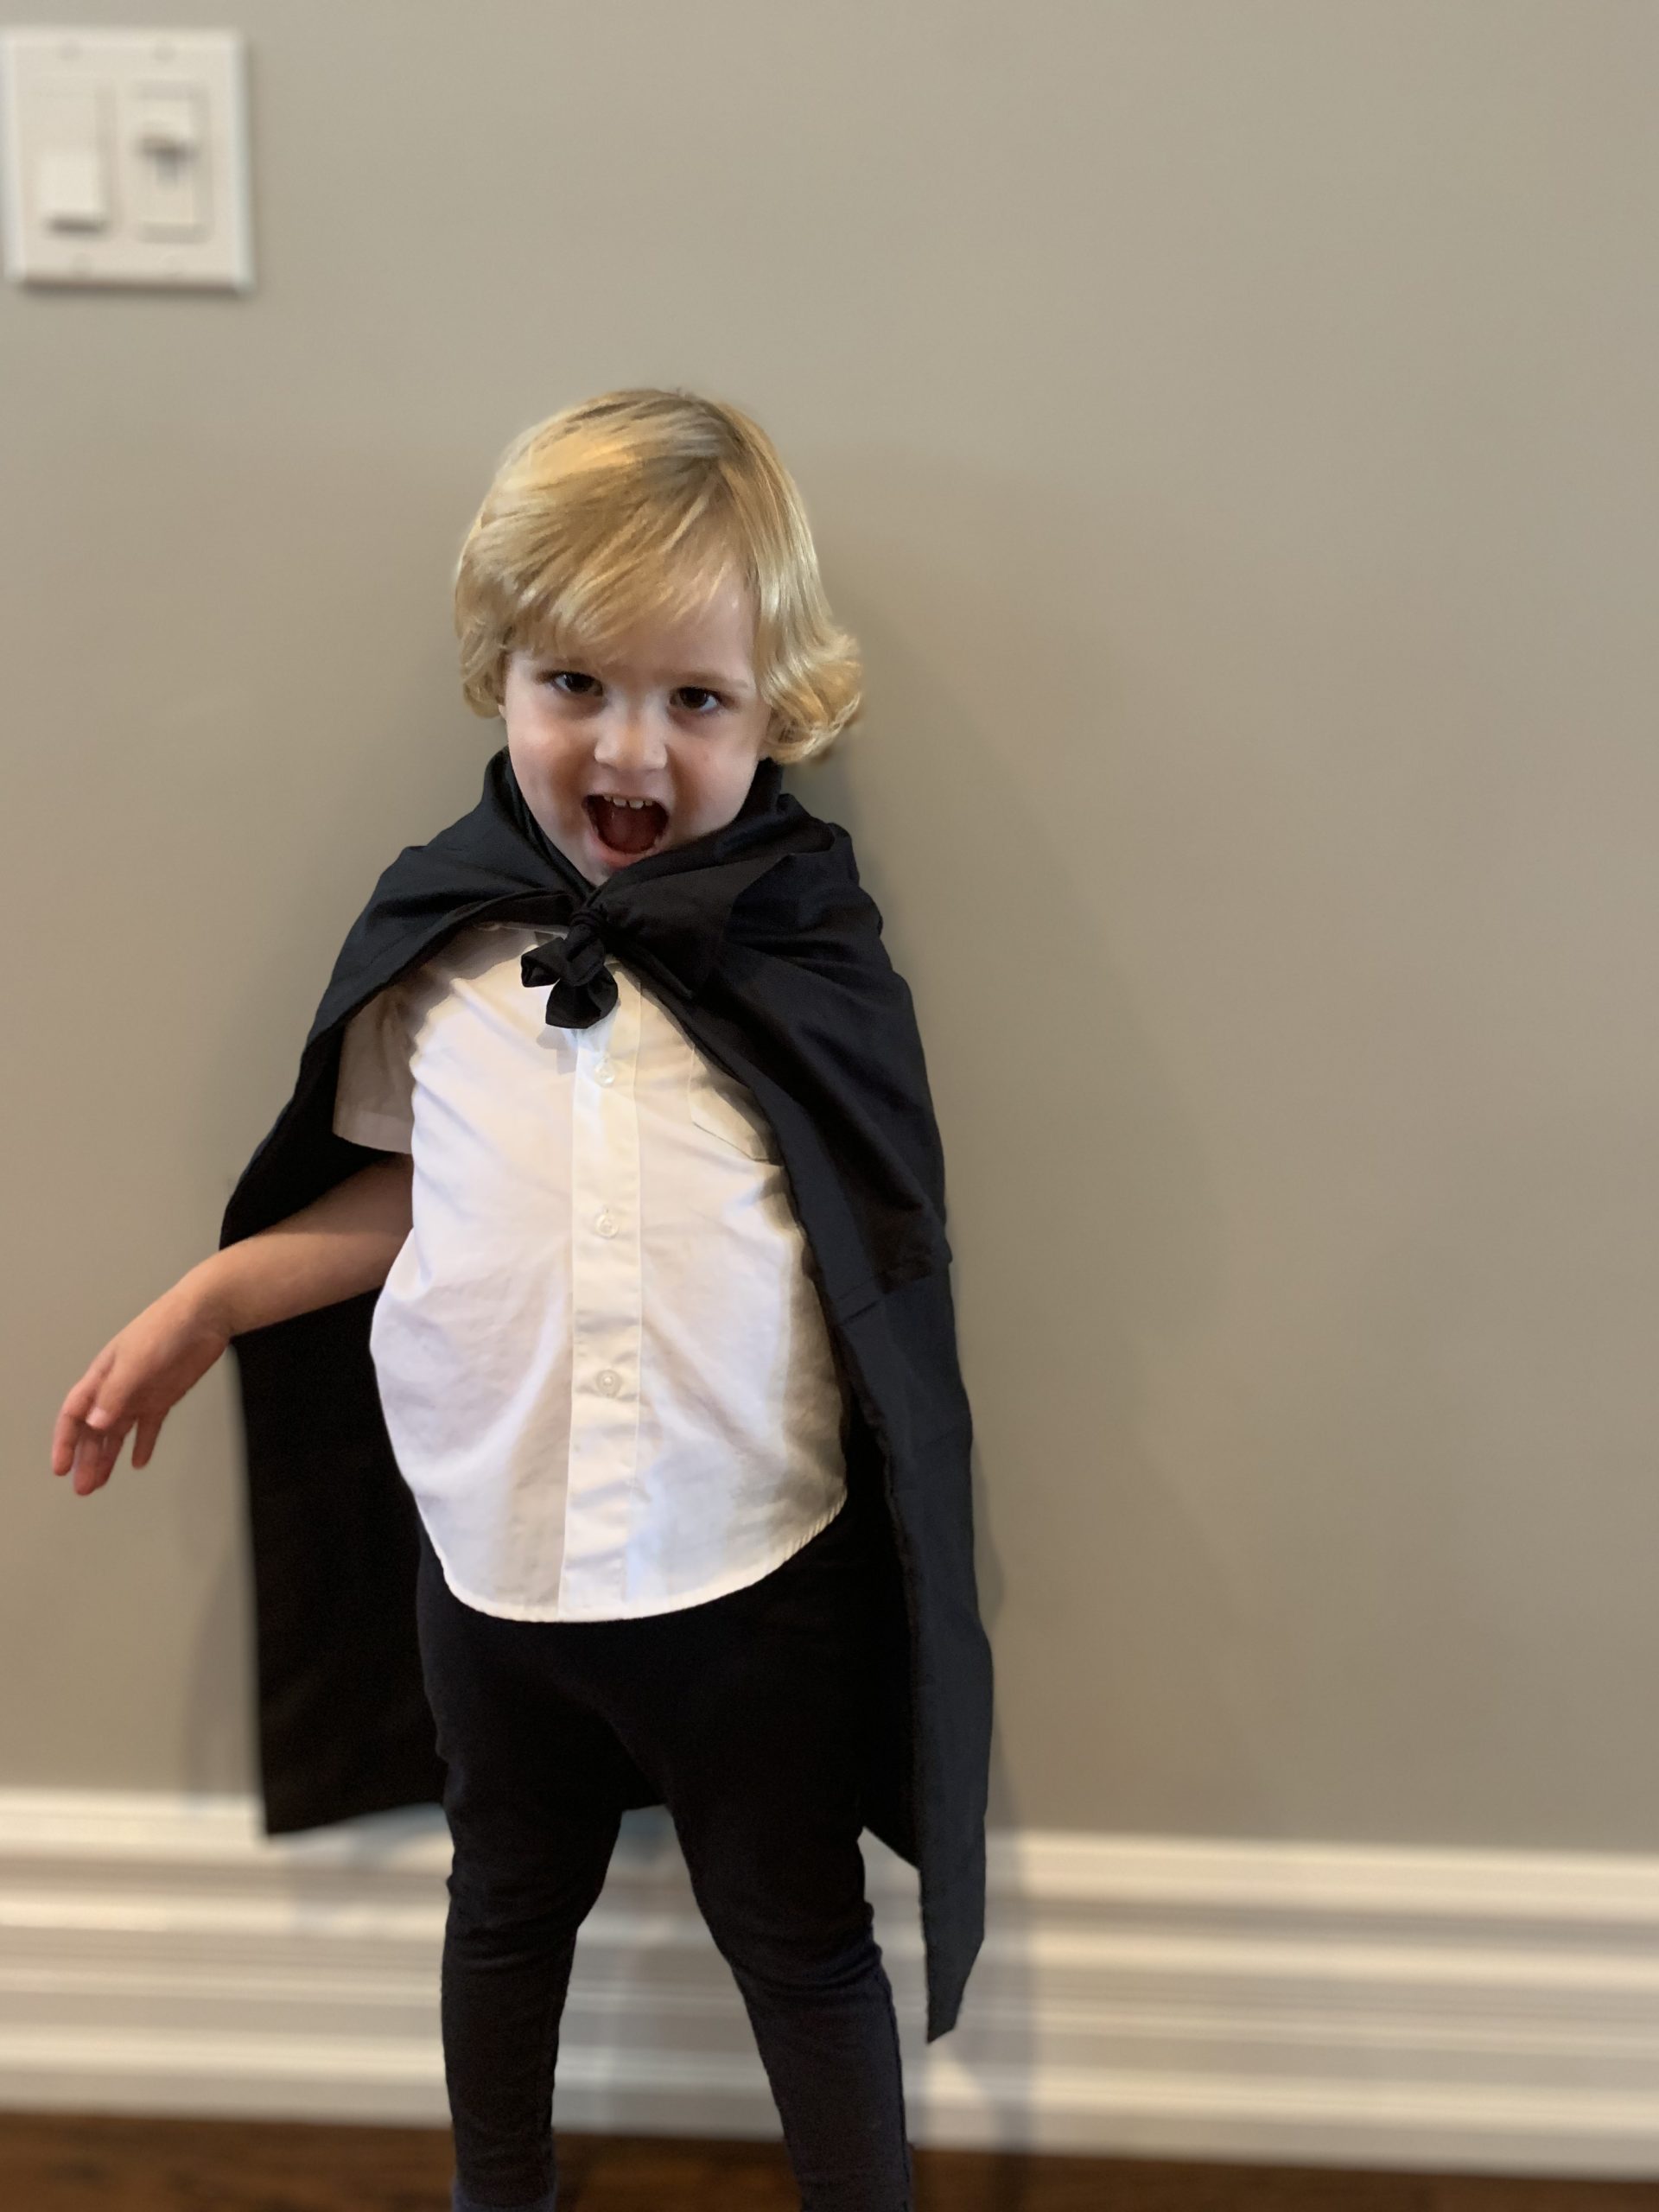
Vampire
Do you have a kid’s white button-up shirt hanging in a closet? Some black pants? Something that can act as a cape, like a dark-coloured pillowcase? Then you have an easy-peasy vampire costume. As for teeth, you can easily grab a pair at the dollar store, though if you’re dealing with a younger child, don’t worry about them. After all, Hotel Transylvania taught us that little vampires don’t get their teeth until after they turn five.
Fun Extra: Try slicking back your child’s hair (mine wasn’t into this idea), and if you have a kid’s bowtie kicking around, perhaps from a past family photo session, pop that on as well.
via savvymom